Page Flow
Create interactive scrolling presentations, full-screen landing pages, and advanced sliders. This guide explains step-by-step how to configure the layout, content animations, and the innovative "Spatial Overlay" navigation.
1. Basic Configuration and Engine
Define your slide selector and choose how the browser should handle transitions.
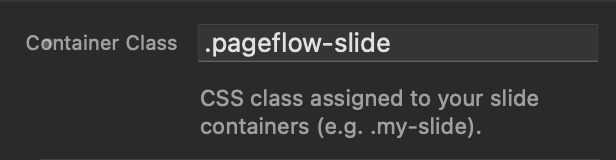
Container Class
Enter the CSS class that identifies the blocks that will act as slides.
.pageflow-slide class to 3 different divs on your page. The component will automatically transform them into a full-screen sequence.
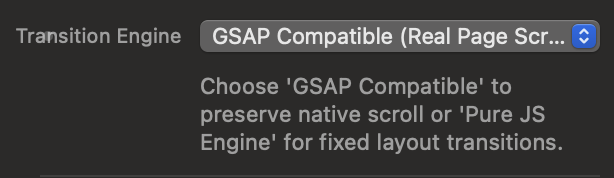
Transition Engine
Choose between native scrolling or a pure JavaScript engine with a fixed layout.
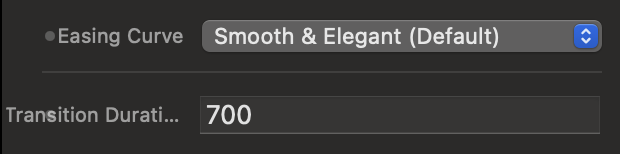
Effects and Curves (JS Engine)
If you use the JS engine, you can choose entry animations and acceleration curves (Easing).
2. Loading Screen (Anti-FOUC)
Avoid the "Flash of Unstyled Content" by hiding the page until the layouts are ready.
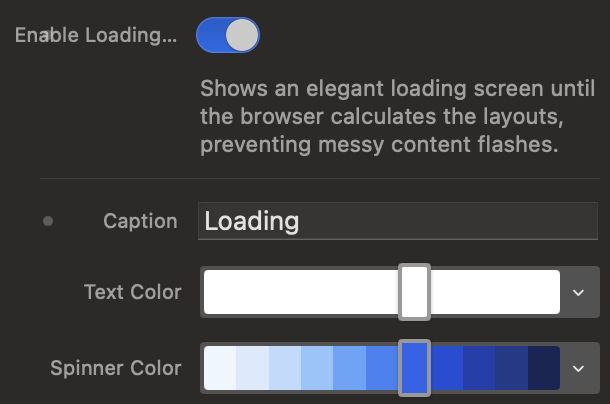
Enable Loading Curtain
Activate an elegant screen that temporarily blocks the display of the unstyled site.
vh dimensions and position the slides. Without this option, the user would see the elements jump around. The preloader ensures a perfect entrance.
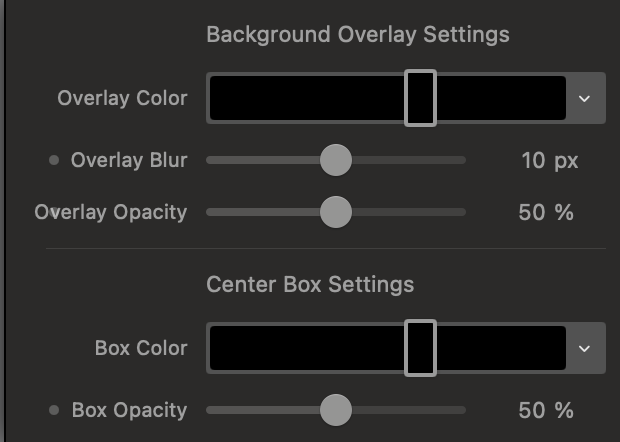
Box Style and Overlay Background
Customize the colors, the background blur, and the opacity of the central box.
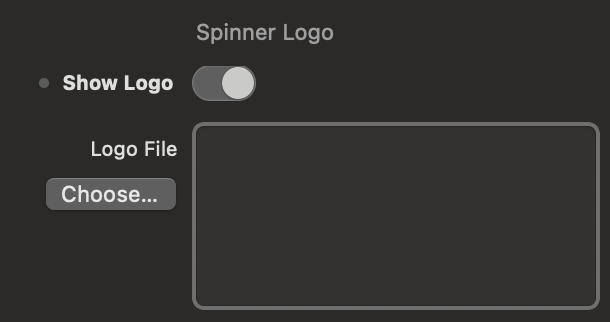
Custom Spinner and Logo
Replace the loading icon by inserting your brand's logo in the center of the circular spinner.
3. Navigation Interface
From the classic dot menu to the innovative "Spatial Overlay" in Apple Vision Pro style.
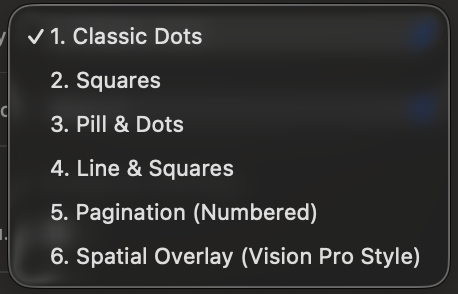
Standard Pagination Styles
Choose from 5 preset styles (Dots, Squares, Line, Pill, Numbered) and position them on the sides of the screen.
"Spatial Overlay" Navigation
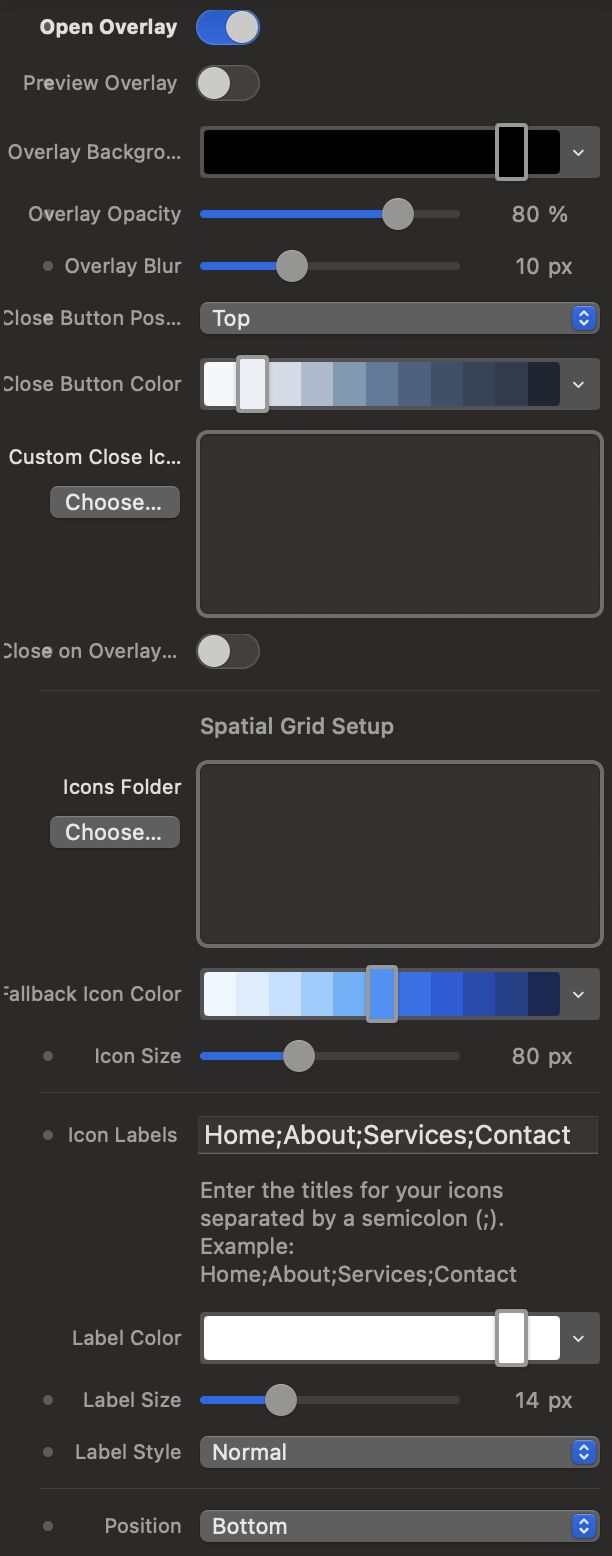
The 6th style (Image-Center) transforms the navigation into a single button that, when clicked, opens a full-screen dashboard.
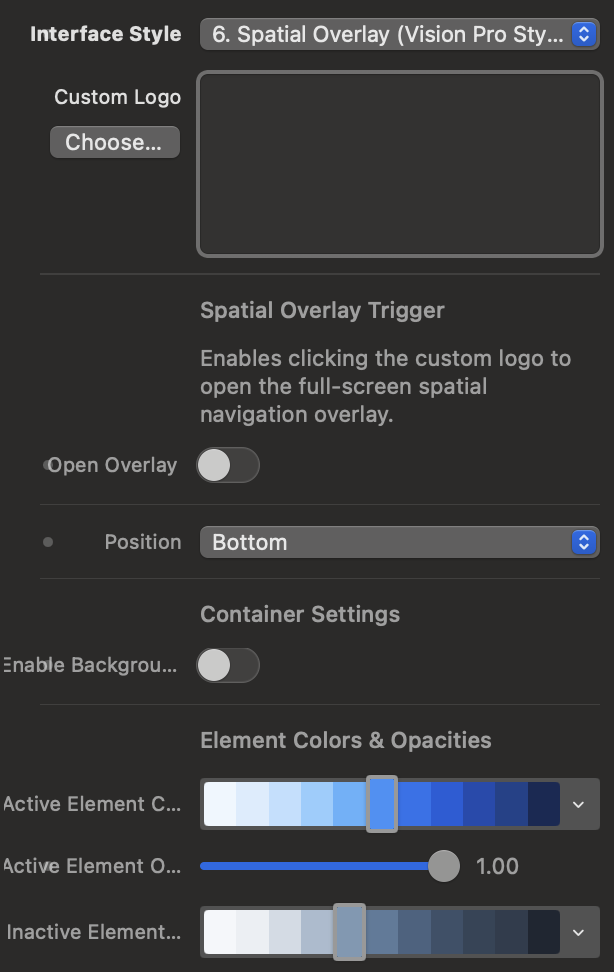
Vision Grid Configuration
Manage icon folders, texts (separated by semicolons), and fallback colors for the spatial overlay.
Home;About Us;Services;Contact in the labels field. The system will automatically calculate a honeycomb layout based on the number of slides.
4. Content Animations (JS Engine Simulator)
Not only the page, but the content inside also comes to life. Try the JS Engine effects below.


5. Smart Animations Mode
PageFlow scans the slides' DOM and automatically animates text and media.
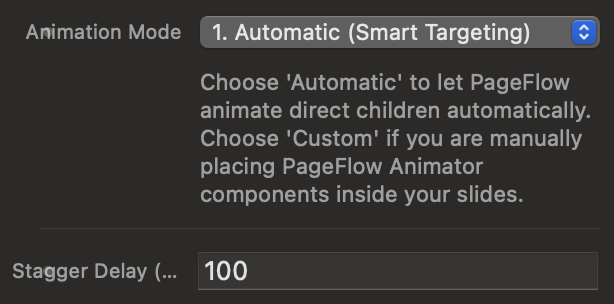
Automatic vs Custom Animation
Choose "Smart" to let PageFlow animate all direct children of the slide.
Media and Text Entry Styles
Adjust the appearance effect by intelligently separating text from images.

6. Interaction and Mobile Sizing
Optimize the physics and responsiveness for smartphones, mouse wheel, and keyboard.
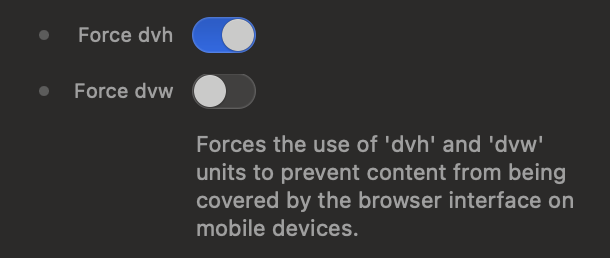
Dynamic Viewport (dvh)
Force the use of 'dvh' and 'dvw' units for mobile devices.
Custom Navigation Classes
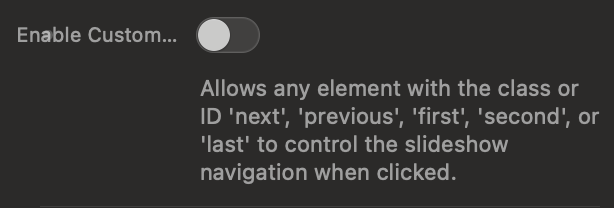
Link any button or element on your page to the PageFlow component using preset classes or IDs.
next or
previous classes to any of your elements to scroll forward or backward. If you want to allow the user to jump to specific sections, you can assign the classes or IDs
first (for the first slide),
second (for the second), or
last (for the last slide of your presentation).
Page Flow Animator
The perfect companion for PageFlow. This component allows you to animate individual texts, images, or entire blocks within your slides, orchestrating perfect choreographies thanks to the built-in engine.
1. The Basic Concept
How the Animator component works and how to insert it into your layouts.
A Universal Container
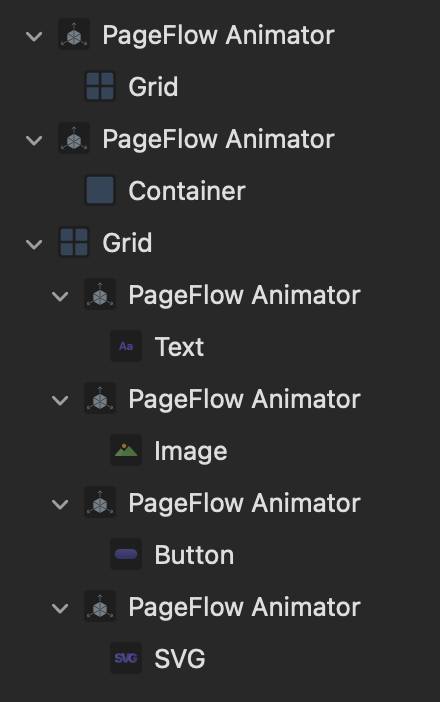
Animator is specifically designed to act as a container for any other element without affecting the structure of your site.
The Dropzone
Drop what you want to animate directly into the component.
2. Effects and Choreographies
Customize the entry style and timing to create cascading animations.
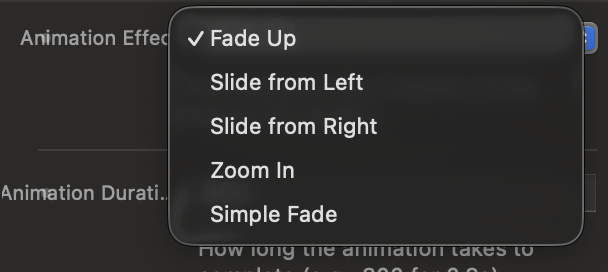
Entry Effects
Choose from 5 smooth and modern animation styles.
Delay and Duration (Staggering)
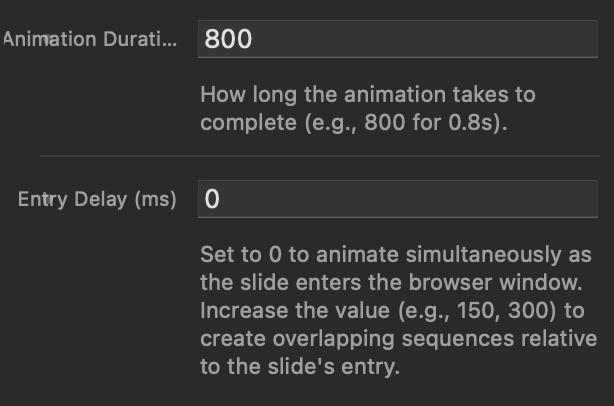
Manage milliseconds (ms) to create staggered sequences.
0, the Subtitle to
150, and the Button to
300. This way, they will enter the scene one after the other, creating a beautiful cascading effect.
Want even more control?
This component is fully functional on its own and includes a selection of beautiful, elegant, and professional animations.